Showing posts with label pinterest. Show all posts

Wednesday, April 3, 2013

Making a fire!

      We love to go camping in the summer! Every year, we try to go as often as possible! Our season usually starts in late April-May, but this year we get to go early! In fact, by the time you read this, we will be on our way home from our first 2013 camping trip!
        One problem we had come up quite a bit last year was getting the fire started (in a timely manner!) It was usually because the wood we got was wet. Because we travel out of state, and because there is a big bug issue up here, we are not allowed to bring our own weeod. This means we just get to deal with whatever the campground has or what we cam find around our site.
         Last year, my friend told me about these fire starters she found on Pinterest. I do not have the exact link that she used, so I decided to make my own. I have all these random half empty jars of candles floating around the house. I usually keep a jar on the stove,a nd forget to move it when I tuen the oven on, so the whole thing melts and the wax falls in :/ You would think by now I would have learned to move the candle before turning on the oven, but no. It is onyl after I start smelling the candle that I realzie why I am smelling it!
           Anyways....I gathered these jars and started saving the wax when I would change my Scentsy smells. I also added broken pieces of candles and tarts. I started saving my dryer lint in an empty spaghetti sauce jar. Since it was winter, I figured I would have plenty of time to save before I needed them. The last ingredient I needed was shredded paper. We have a shredder that always has something in it, so this was the easiest part. Of course, when I needed it, I realized my husband had just emptied the shredder! I just grabbed some junk mail and and newspaper and shredded it up real quick. I was sure to not use any of the slick pieces of paper, just newspaper type.

        First, I got a pot of water boiling to melt the wax. Add enough water to cover the wax level, but not the jar.


Then, I put the jar in the water so it could start melting while I prepped the rest. Isn't it pretty?


I grabbed a muffin tin and added some paper liners. I have an abundance of these, so I doubled up for extra holding power. I also thought it might help light better later.


I added a good layer of lint first.


Then I added some shredded paper. It is okayif it looks like too much. Once the wax goes in, it will help the pile go down.


Finally, once the wax started to melt, I began pouring it into the liners. (Use a hot pad, the jar is hot!)
I filled them to about 3/4 full.

 
And voila! Fire starter cupcakes!


          I am very excited to use these. They make the fire smell awesome, too! Just imageine all your favorite candles  rolled in to one! I love it!

Be sure to check back for the recap of our first camping trip of the year!! I am SO Excited!!!


Did you figure out what J made for his scratch art photo??
 

Friday, March 29, 2013

IKEA Hacks

        Have you heard of these? I just recently had a conversation about this new trend. Now I love IKEA, but I never thought to makeover the items i have bought.
        Until I heard someone talk about these hacks...So I started to do some research. I have this table from IKEA that I bought for my little one. I wanted something that he could sit and eat or play at, that didn't take up too much space, so he could be in the kitchen with me. This table won when I saw that it came with two chairs and was only $20! I started to browse through Pinterest (there are lots of great ideas there!) and saw people were doing all kinds of makeovers to IKEA furniture! I started to get really excited!
         Now, I am a very much an instant gratification kind of girl. I did not want to wait until my husband came home to help, so I got to work. I went into the garage and found out we had some paint left over from when I painted our entry way. It was blue...how perfect for a little boy! Then I found the leftover chalkboard paint from painting our chalkboard wall...even better! Finally, I wanted something fun for the chair covers. During my research, I saw many options. Since I knew my two-year-old would be eating/drinking (Spilling!) at this table, I wanted something that was somewhat water resistant...(Insert light bulb moment here) I chose contact paper!! We always have lots of it, so, once again, I didn't have to make a special trip. Instead of just using plain white (boring) contact paper, I used some clear and put a colroful piece of scrapbook paper underneath! Are you ready to see the results?
First- here is the before:


 Cute, but boring!
Here is the mess I made while refinishing!
 
And the seat with scrapbook paper and contact paper
 
Did I tell you the best part....I used chalk board paint for the top!!


And finally....the finished product!


What do you think?? I would love to see anything you have transformed from IKEA!!


Friday, February 22, 2013

Corn and Black Bean Salsa

     We recently attended a birthday party where this salsa was served. It reminded me how much I love it and how long it has been since I have eaten it. It also made me want to make some immediately! I have made one version before with avocado in it. I love it, but it makes a lot, and I wanted to have extra to save. Just in case you are unaware- avocados don't save well! I usually make this one for parties where there will be lots of people to eat it.  So- I started looking for other recipes without the avocado. I couldn't find one that seemed to look perfect. Then, I thought- "Why not just wing it?!" So I did. I even got a helper, so we were able to mark it as HomeEc learning time for school! :)
This is what we did:
First we gathered all our ingredients. Also included are a can or corn and a can of black beans, both rinsed and drained.
I will have all the specifics listed below :)

I had my helper scoop out all the inside of the tomato. We used a measuring spoon to get everything out in one scoop! It worked great! (1/2Tbsp size was perfect!)
 
 
We got everything chopped and added to a big bowl! ( I seriously could have just eaten it like this!)
But I didnt....


We juiced one lime over everything and gave it all a good mix. I also added a little bit of salt and pepper. Just a little.
That is all! We had enough for us to snack on, plus two jars for later! J was even excited to get his own photo of his bowl! :)

This is what we used:

1 can black beans, rinsed and drained
1 can corn, rinsed and drained
5 Roma tomatoes, seeded and diced
3 jalapenos, seeded and diced (This was not hot at all, so it could vary)
1 onion, diced
about 1/2 cup cilantro, chopped
juice of 1 lime
tortilla chips

Add everything to a bowl and mix well!
We ate some right away, but it is even better if you can refrigerate it for a bit first! (I clearly don't have the willpower for that!)

This makes a great salsa to eat with chips. It can also be used as a topping for chicken, tacos, rice, or anything else you can think to add it to!

Let me know what you think!

Sunday, February 10, 2013

Happy Valentine's Day

Well, almost!
Last week, for our Art time, we decided to make Valentines crafts. Kyle even got to join in the fun. He finger-painted a canvas that I taped the word "LOVE" on. Would you believe he had 6 different colors to choose from? Once he realized how much fun he could have getting his hands in the paint, he went all out! All the colors got to be best friends! At least they blended together nicely!
Jacob helped me choose papers and cut out letters and shapes on the Cricut. We also made a flower pot thing that we found on Pinterest. I can't seem to find the link now. If I ever find it again, I will be sure to link back to the original poster! If you happen to come across it, let me know so I can add it!! :) Jacob had a lot of fun being creative and painting the papers for the heart flowers. Since we only made one to fit on an 8x10 paper, we had some painted paper left over. We did not want to waste it, so we framed it! I especially love the striped one Jacob did! We added a little white heart to give it some contrast. It is sitting on the entertainment center now. I love looking at it every day!
I have to get to the store and get more canvases so we can make more crafts for the month of March!! I love being able to craft with my kids! I am so glad they enjoy it, too!! :)

Kyle getting his finger paint on!


Welcome!


Thursday, December 6, 2012

Ornaments

Every year I try to find us a special ornament that represents something we did that year. We did a lot this year, but I had a hard time finding that "special" ornament. I got one in South Carolina while we were there, Jacob got a new Boy Scout one, I found an awesome camera one. They are all great, but none of them are "the one."
While browsing Pinterest one day for ideas for my photography class, I came across this tutorial. I thought it would be a great project for my class to have them take their own family photo and turn it into an ornament. A few days ago, I thought I should have a completed one to show what they will all be making. I printed off one of our photos from our recent family photo session with my friend Chris Malpass, and got to work. I am so glad I did! This ornament means so much more to me than all the others we have gotten this year.
When I found out we would be staying in Virginia for the weekend, I thought it would be a great time to get some family photos done. We don;t have any professional photos of all of us, so when Chris said he was available that weekend, I was so excited! Despite the cold cold wind and unfortunate circumstances we were facing that weekend (which I have been told is written all over my face), I am so glad we toughed it out and got them done. This ornament will be something I cherish forever!

Here is my step-by-step:

I first gathered all my supplies- paper, Mod Podge, a foam brush, my photo, and the rectangle piece of wood for the ornament. the tutorial called for a 5x7, but since I am hanging it on my tree, and using this for my class project, and Hobby Lobby didn't have enough in stock, I went with the 2 1/2"x 3 1/2" size


 Then I cut my paper down and sized the photo to fit, and adhered them to the piece of wood with the Mod Podge.

 I had to find a way for it to dry both sides at the same time without sticking to something (Yes, because I am impatient!), so I cut a hole in the bowl I was using!
 I added a sparkly silver ribbon and another coat of Mod Podge...

And here is the finished product!! I just love it!!


Do you have any special ornaments or traditions?? I would love to hear about them!


Wednesday, December 5, 2012

Christmas Art

I love Christmas!
This year, we will not be travelling, and I think this has left me with a need to decorate EVERYTHING! We usually put out decorations, but we are never here to enjoy them. Then we come home after Christmas, and have to take them down. This is no fun!
I have been finding some great ideas on Pinterest, and we made some this week. First, I found a canvas painting of a quote from The Grinch. It is pinned on my Christmas board.  I have a bunch of 8x10 canvases, so I thought I would make my own. I am pretty impressed with how it turned out. It is on a shelf in my kitchen :) Kyle wanted to help while I was painting, so I gave him his own canvas and paintbrush, and let him go to town!  His is hanging in his room! Every time he goes in there now he points at it and gets so excited!
The next project we did was hand print Christmas tree and Santa. Also onthe 8x10 canvas! :)  Jacob did the Santa since his hands are a little bigger!
This was Jacob's art project for the week! Today we will be making a special family ornament. I am doing the project with my photography class this Friday, so I thought it would be nice to show them a finished product! I will be adding those photos soon!
Here are our photos of this week's projects!


Tuesday, October 9, 2012

Sooooo....here I am making a blog about our crazy life! It seems to be very busy these days, so hopefully I will be able to keep up! Here's a little about me: My name is Keli. I am married to an awesome guy who is a Machinery Technician in the Coast Guard. I have two amazing boys that keep me on my feet. We are in our second year of homeschooling our oldest, and the youngest is almost 2! We are currently at our first land station in Rhode Island. We both group up in the South, so it was a big adjustment when we got here! I love to be with my family and friends. I enjoy cooking, crafting, wasting time on Pinterest, and a good glass of wine. I am in the process of building my photography  business. I am also a consultant with Tupperware! I love all of my jobs! If there is anything I missed, let me know!
I will start off with one of our recent homeschool projects. Jacob is currently learning about the Phoenicians in our Social Studies lessons. We just finished learning how they used different dyes to color their clothing and other items. Then conveniently, that same day, while seeing what was happening on Pinterest, I came across this link for a Phoenician Dye project! How perfect, right? Here is how ours turned out:
First, we got a small head of red cabbage.
Then we cut it all up! And yes, that is our dinner in the crock pot!! I will share the recipe later! :) 
Our fingers were already starting to turn purple!!


Once it was all cut, we boiled it for about an hour
Then, drained the cabbage
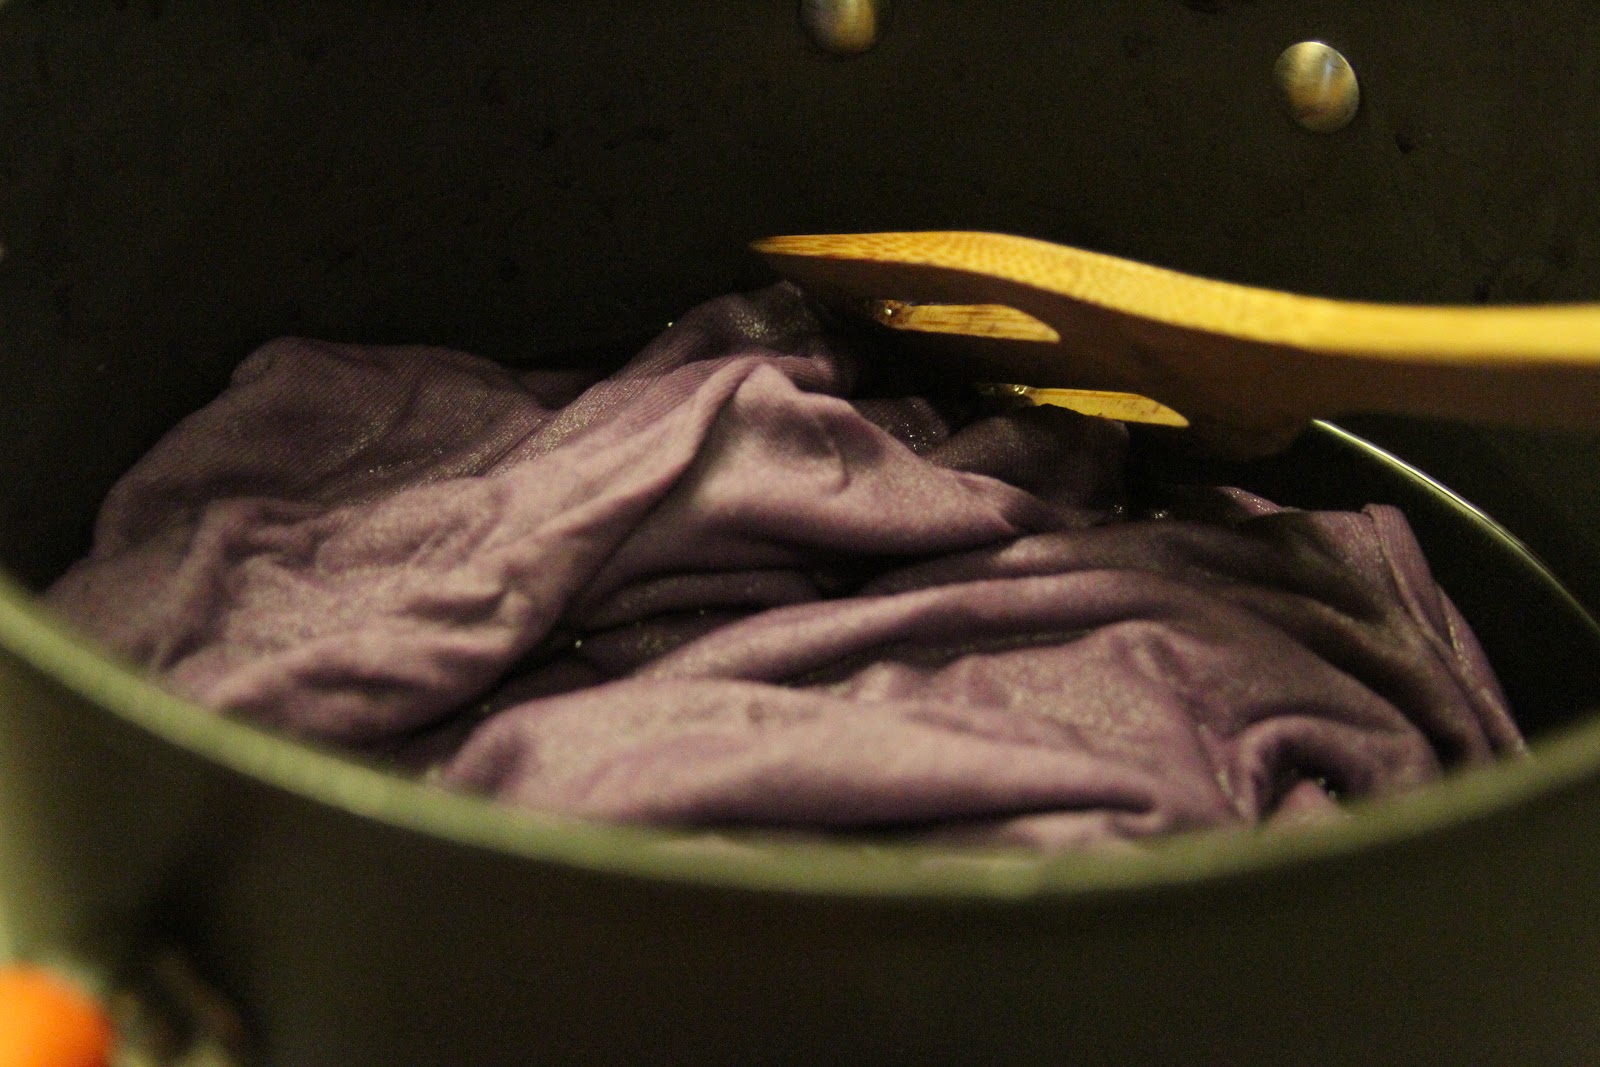
and added a white shirt to the purple liquid!

While we were waiting for the shirt to soak, I cleaned the purple spots off the stove!
I also like to do the occassional link party! Here is one I found for Tuesdays. It is hosted by Mom's Best Nest. It is called the Flock Together Tuesday Blog Hop! I always like to find new inspiration! :)

I will be sharing more about our life as it happens. I am getting ready for my first Scentsy party today, then I am heading up to Vermont to camp for a few days with some of our friends! I am very excited! we only hvae Vermont and Maine left on our list of New Engalnd places to camp! I will defnitely be posting those photos once we get back!

I would love to hear from you!
Until next time,
xoxo