Until I heard someone talk about these hacks...So I started to do some research. I have this table from IKEA that I bought for my little one. I wanted something that he could sit and eat or play at, that didn't take up too much space, so he could be in the kitchen with me. This table won when I saw that it came with two chairs and was only $20! I started to browse through Pinterest (there are lots of great ideas there!) and saw people were doing all kinds of makeovers to IKEA furniture! I started to get really excited!
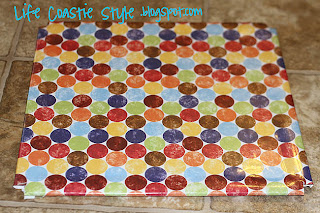
Now, I am a very much an instant gratification kind of girl. I did not want to wait until my husband came home to help, so I got to work. I went into the garage and found out we had some paint left over from when I painted our entry way. It was blue...how perfect for a little boy! Then I found the leftover chalkboard paint from painting our chalkboard wall...even better! Finally, I wanted something fun for the chair covers. During my research, I saw many options. Since I knew my two-year-old would be eating/drinking (Spilling!) at this table, I wanted something that was somewhat water resistant...(Insert light bulb moment here) I chose contact paper!! We always have lots of it, so, once again, I didn't have to make a special trip. Instead of just using plain white (boring) contact paper, I used some clear and put a colroful piece of scrapbook paper underneath! Are you ready to see the results?
First- here is the before:
Here is the mess I made while refinishing!
And finally....the finished product!
What do you think?? I would love to see anything you have transformed from IKEA!!


No comments:
Post a Comment