One problem we had come up quite a bit last year was getting the fire started (in a timely manner!) It was usually because the wood we got was wet. Because we travel out of state, and because there is a big bug issue up here, we are not allowed to bring our own weeod. This means we just get to deal with whatever the campground has or what we cam find around our site.
Last year, my friend told me about these fire starters she found on Pinterest. I do not have the exact link that she used, so I decided to make my own. I have all these random half empty jars of candles floating around the house. I usually keep a jar on the stove,a nd forget to move it when I tuen the oven on, so the whole thing melts and the wax falls in :/ You would think by now I would have learned to move the candle before turning on the oven, but no. It is onyl after I start smelling the candle that I realzie why I am smelling it!
Anyways....I gathered these jars and started saving the wax when I would change my Scentsy smells. I also added broken pieces of candles and tarts. I started saving my dryer lint in an empty spaghetti sauce jar. Since it was winter, I figured I would have plenty of time to save before I needed them. The last ingredient I needed was shredded paper. We have a shredder that always has something in it, so this was the easiest part. Of course, when I needed it, I realized my husband had just emptied the shredder! I just grabbed some junk mail and and newspaper and shredded it up real quick. I was sure to not use any of the slick pieces of paper, just newspaper type.
First, I got a pot of water boiling to melt the wax. Add enough water to cover the wax level, but not the jar.
Then, I put the jar in the water so it could start melting while I prepped the rest. Isn't it pretty?
I grabbed a muffin tin and added some paper liners. I have an abundance of these, so I doubled up for extra holding power. I also thought it might help light better later.
I added a good layer of lint first.
Then I added some shredded paper. It is okayif it looks like too much. Once the wax goes in, it will help the pile go down.
Finally, once the wax started to melt, I began pouring it into the liners. (Use a hot pad, the jar is hot!)
I filled them to about 3/4 full.
And voila! Fire starter cupcakes!
I am very excited to use these. They make the fire smell awesome, too! Just imageine all your favorite candles rolled in to one! I love it!
Be sure to check back for the recap of our first camping trip of the year!! I am SO Excited!!!
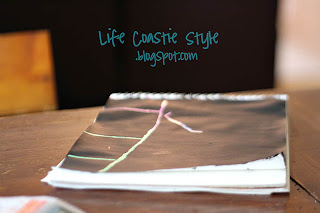
Did you figure out what J made for his scratch art photo??
Did you figure out what J made for his scratch art photo??


