Showing posts with label paint. Show all posts

Thursday, September 17, 2015

Fall Decor & Buffet Makeover

              I am so excited to share this post today! I have been wanting a buffet for a while now. I could just never find one that I liked, or justify the cost of the ones I did like. I recently found someone selling this buffet on a local sale site, and thought it would be the perfect project! I forgot to get a before picture before we started pulling the knobs and doors off. Luckily, I was able to grab these screenshots of the sale post!


               The seller had already refinished this piece with a gray chalk paint. Thankfully, it was never sealed, so that saved me a lot of work! I had an idea of what I wanted the finished product to look like. I couldn't find the color of chalk paint that I wanted, but after a very helpful associate at Lowes, I learned that I could paint right over the existing chalk paint with regular interior paint, and as long as I sealed it, there would be no problems! That opened up a whole world of color options!!

                I ended up finding the perfect color in the Sherwin Williams HGTV Home line. It's called Amelia's Wings. I may have been a *little* biased towards this color since our new little baby girl is named Amelia. But- it is the exact color I had in mind, so it worked out great!
I got right to work painting the first coat on!

               For the top, I used Valspar's Dark Earth. I love how perfectly it compliments the bottom.


                I finished it off with some matching knobs. Finding the perfect ones were almost as hard as choosing a paint color!!

I am so in love with how this turned out. I think for my first makeover project, it was a success! I can't wait to do another!


 I found this chalkboard easel at WalMart, and the quote on Pinterest. The leaf and little pumpkin came from the dollar store!

 My husband made this awesome little wood box for me (Yay for scrap wood!!) It hold just the right amount of seasonal décor, and I'm really looking forward to using it throughout the year!

The filler in the basket is a mix of items from Hobby Lobby and Michael's
This glittery pumpkin is from the dollar store also. The vase in the back is a duplicate one that I got flowers in. I just spray painted it white. The wheat décor is from Hobby Lobby.

Tuesday, December 2, 2014

12 Days of Christmas Crafts | Day 1 | Painted Wine Bottles

Hey, hey! Welcome to December!
In an effort to get back into my crafting, I have decided to do a 12 days of Christmas crafts! They may not all be specifically Christmas related, but at least winter-y. Most will even be kid-friendly since I will be doing them with at least one of my boys. :)

I have been pondering painting wine bottles for a while now, but I never had a good idea of what I wanted for our home. I saw some really great ones on Pinterest, but A. I wanted ours a little more original, and B. They just didn't "fit" with what I wanted. This morning, I was rummaging through my craft box, and came across some Martha Stewart tinsel glitter and Pearl Ex powder pigments that I have had for a while and have never used! I thought they would be perfect! 
I gathered all the supplies I wanted...


    Then got to work removing wine bottle labels, and painting them all white. 


For the first bottle, I poured a little of the pigment powder into the lid so I didn't have a load dump onto my bottle! Then I sprinkled it all around. I really loved how it fell onto the bottle. I sed these two colors, and layered them until I was satisfied. I ended up doing two bottles this way.
These are the two colors I chose...


For the next bottle, I painted it white, and just sprinkled the tinsel glitter all over, heavier at the bottom, and lighter at the top. I originally had a different idea for this one, but I was happy with the simplicity of it. I may add  a glitter snowflake once we open our ornament box. I'll add an updated photo if I do. :) 


Here they are drying on my sink, out of the reach of the littles! I will be finishing the tinsel glitter one by adding a layer of mod podge for protection. For the powdered ones I will spray them with a clear sealant. We don't want glitter or powder all over the house, do we??


once that was all done, I added some leftover clippings from our tree and put them on the ledge at our entry way. I will be adding more to the entry way in the next few days! I can't wait to share my post on how we decorate our house this year!


There you have it. A super easy craft. I didn't have my son help with this one, but you could definitely have a little one pour on some glitter or help with the painting if you are brave enough! All three bottles took me less than an hour (during nap time!) to complete! I would love to see your versions if you decide to paint any bottles this season!

Stay tuned! Tomorrow I will be sharing a kid-friendly snowflake craft! :)

Thursday, March 28, 2013

St. Paddy's Day Crafts

       Since it is almost Easter, and since I missed almost the whole month of March, I think it is only fair that I share our crafts we made for St. Patrick's Day! This way, you can be {WAY} ahead for next year!
       It seems odd to me that St. Pat's and Easter are in the same month. Isn't Easter supposed to be in April? I am  not complaining- I love Easter, but it just seems strange.
       Anyways...we made St. Pat's crafts at the beginning of the month, and waited until after to start on the Easter ones ( I will be sharing those soon!)
One of the first crafts we did were these shamrocks:

 To make these, I cut one sheet each of dark green, light green, and yellow tissue paper into squares. They do not have to be perfect little squares. Just small enough to have room for lots of colors.


Then, I got a piece of green cardstock and cut out the outline of a shamrock. I got a piece of clear contact paper and placed the outline on to it. I let the boys go to town "decorating" their clovers. Jacob chose to place carefully, while Kyle wanted to dump the whole bucket and be done! :)


When they were all done, I put another piece of contact paper on top to hold it all toether and cut out the shape. It is now hanging on our awesome hanging thing from IKEA.

We also made another painting like the one we made for Valentine's Day. This time, I let Jacob do the painting, and gave Kyle a little canvas of his own to do what he wanted with. I am seriously in love with what J decided to do. It looks awesome! Before I share, here is what that project looked like!
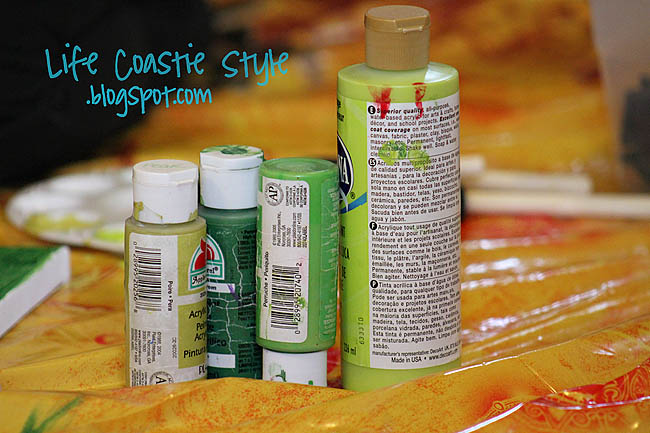
Lots of green paint!


We only made a *little* mess!! :)

 
J hard at work!

Here is the end result! I can't stop looking at it! I think he did a great job!


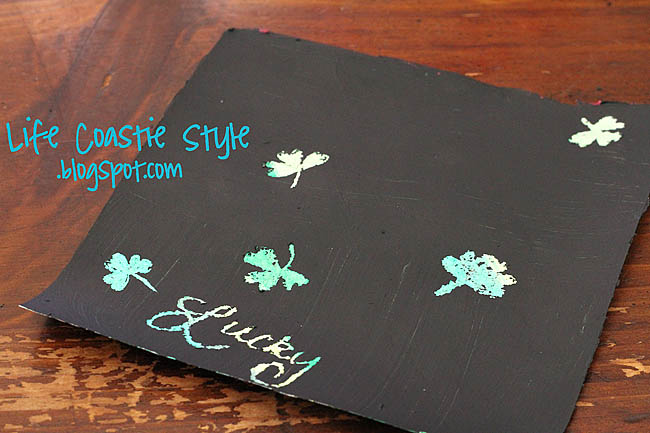
One final thing we ( I ) did was a scratch art picture. I will be sharing the whole project next week, but for now, this is what it looked like to start


 I can't wait to finish sharing the rest of our month with you! See you soon!